Squat form advice usually arrives as a list of corrections: knees out, chest up, sit back, go deeper. Trying to fix everything at once turns a simple movement into a rehearsal of cues. It is more useful to review five checkpoints in order, then add weight only when all five survive a normal set.
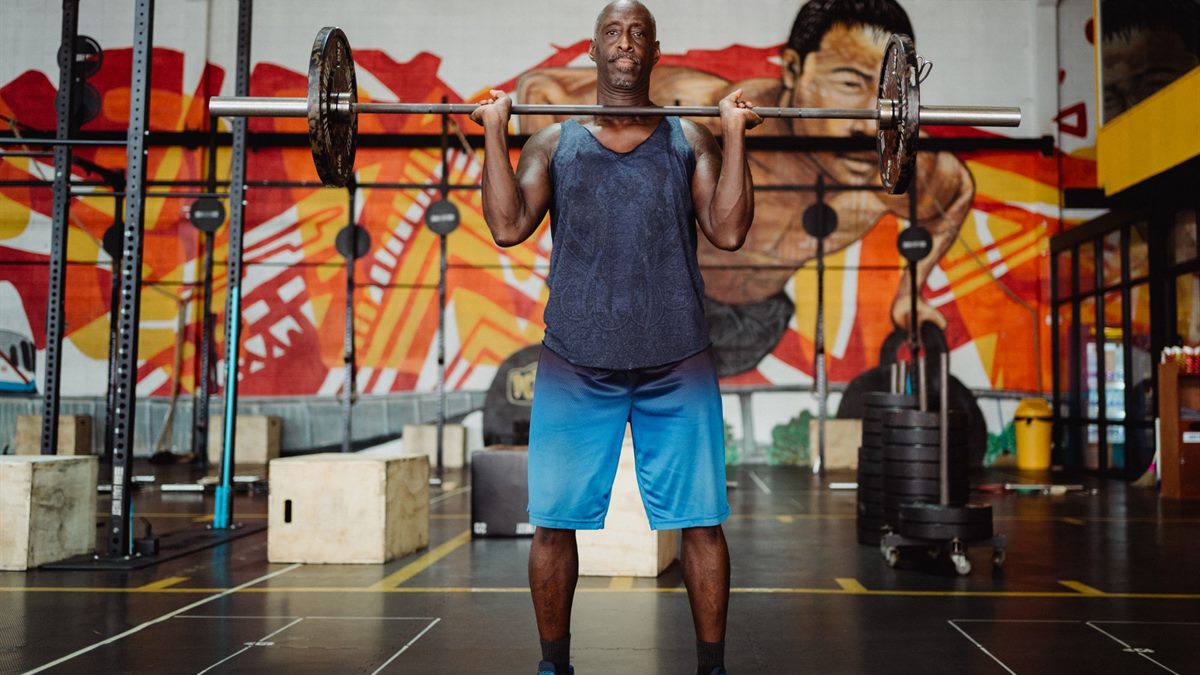
Checkpoint one: a stance you can own
Start with feet roughly shoulder-width apart, toes turned out slightly. The exact angle depends on your hips and ankles; there is no universal number. Shift your weight across the whole foot, not just the heels, and take a breath before the first rep.
If your feet roll inward or your heels lift, try a slightly wider stance or a small heel elevation under the feet. A stance that feels stable at bodyweight is a better starting point than one that looks textbook but cannot be repeated.
Checkpoint two: brace before you move
Take a breath into your belly and sides, not just your chest. Brace as if you expect a gentle push in the stomach, then hold that tension through the descent. The ribs should stay stacked over the pelvis rather than flaring open.
Losing the brace at the bottom is common when the weight is too heavy. If your chest drops suddenly or your back rounds as you stand, reduce the load and practise the same tempo with an easier weight.
Checkpoint three: knees track over the toes
Knees do not need to stay behind the toes, but they should track in the direction of the feet. Watch for a knee that collapses inward as you stand up. That pattern often appears when the hips are weak or the load is ahead of your control.
A light band around the knees can give feedback during warm-up sets, but it is not a permanent fix. Reduce the weight, slow down, and keep the foot planted while the knee follows its natural path.
Checkpoint four: depth you can control
For a general strength program, the hips should reach at least parallel to the knees if your mobility allows it. Deeper is not automatically better if the pelvis tucks under and the lower back rounds at the bottom. Use the depth where you can keep the brace and stand up without bouncing.
Ankle stiffness often limits depth. A small wedge or lifting shoe can help, as can regular calf and ankle mobility work. Do not force range with a loaded bar; earn it with bodyweight and goblet squats first.
Checkpoint five: a tempo that repeats
Lower under control for about two seconds, pause briefly without relaxing, then stand at a steady pace. A controlled descent exposes balance problems before they become a failed rep. Bouncing out of the bottom can work for experienced lifters, but it is not a beginner's shortcut.
Film a set from the side and front. Look for a bar path that stays over the middle of the foot, a pelvis that does not shoot up first, and a head that stays neutral. If the same fault appears on every rep, it is a technique issue; if it appears only on the last rep, it is a fatigue issue.
Warm-up sets that teach the pattern
- Two minutes of easy movement: marching, bike, or brisk walking.
- Ten bodyweight squats with a slow descent and a short pause.
- One or two light sets with the empty bar or a light dumbbell.
- Two ramp-up sets, adding weight without chasing fatigue.
- One working set at the target load; add weight only if all five checkpoints hold.
When form breaks, change the task
If the bar tilts, the knees cave, or the brace disappears, end the set rather than grinding out reps. A goblet squat, a box squat, or a split squat can rebuild control while the main lift waits. Pain that is sharp, one-sided, or persists after training deserves a clinician's review; this article is general information, not medical advice.
Once the pattern is repeatable, the next step is a modest increase, as described in progressive overload in your first year. The World Health Organization's physical activity fact sheet is a useful reference for how strength work fits into a weekly routine.
Frequently asked questions
Should my knees stay behind my toes in a squat?
No. Knees can travel forward over the toes as long as the foot stays planted and the knee tracks in line with the foot. The more useful check is whether the knee collapses inward under load.
How deep should a beginner squat?
Aim for the depth where the hips reach at least parallel to the knees if mobility allows, while keeping the brace and a neutral spine. Do not force depth that rounds the lower back.
Is it bad if my heels lift when I squat?
It usually points to limited ankle mobility or a stance that does not suit your hips. Try a slightly wider stance, a small heel wedge, or ankle mobility work before adding load.
Can I squat with a heel wedge?
Yes, if limited ankle mobility stops you from reaching a comfortable depth. A small wedge or lifting shoe can help, but reduce the load until the pattern is stable.
Read next
Progressive Overload in Your First Year of Lifting
The first year is not about maximum weight. It is about repeating a small, honest increase often enough that your body has a reason to adapt.